How to build a sliding gate & other life lessons
There is nothing you cannot learn - you can just do things.
Dear Joa,
This is a letter to you, even though you have not been born yet, and you won't be able to read this for a while. I suspect it will be even longer before you appreciate it for what it is.
As one does in life, you'll see something and think to yourself; I can build that myself (I'm not going to pay someone else to do it, I can do it for much cheaper).
If you ever find yourself in this situation - it's important that you go ahead and do it. Just know that you will probably underestimate the time and money by 50% - but it will be 100% worth it in the end, even if it does not feel that way while you're busy struggling.
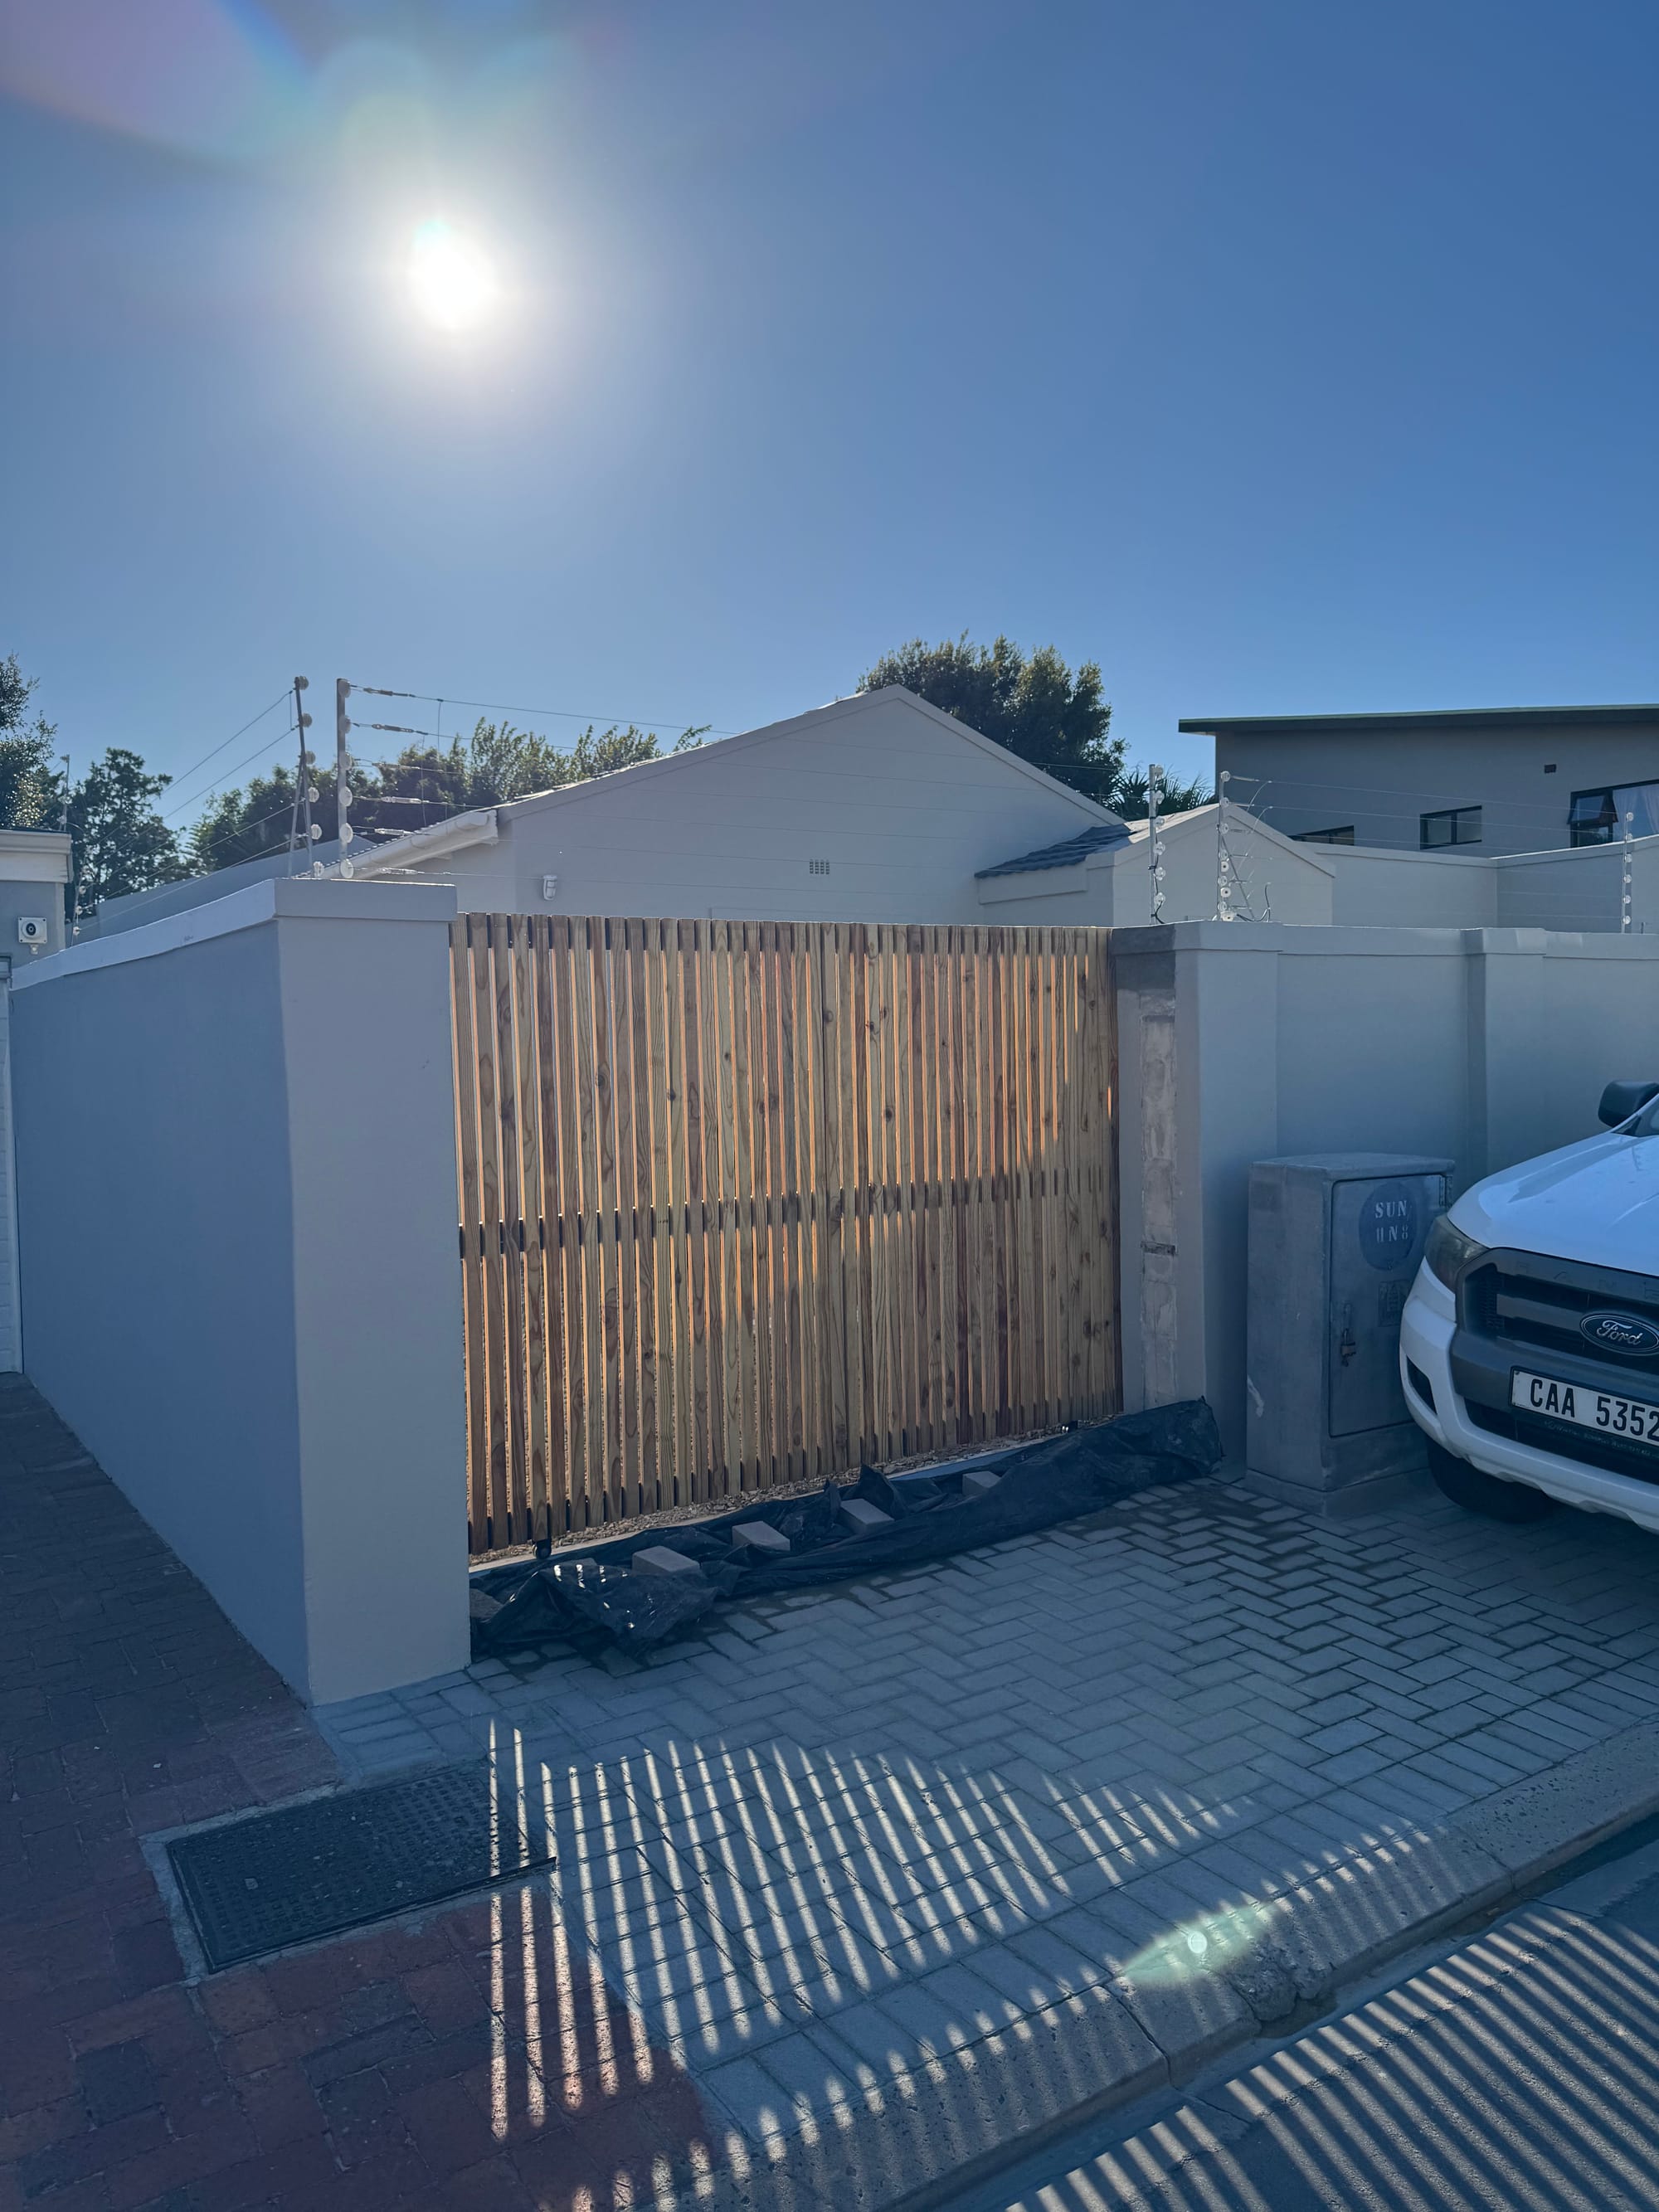
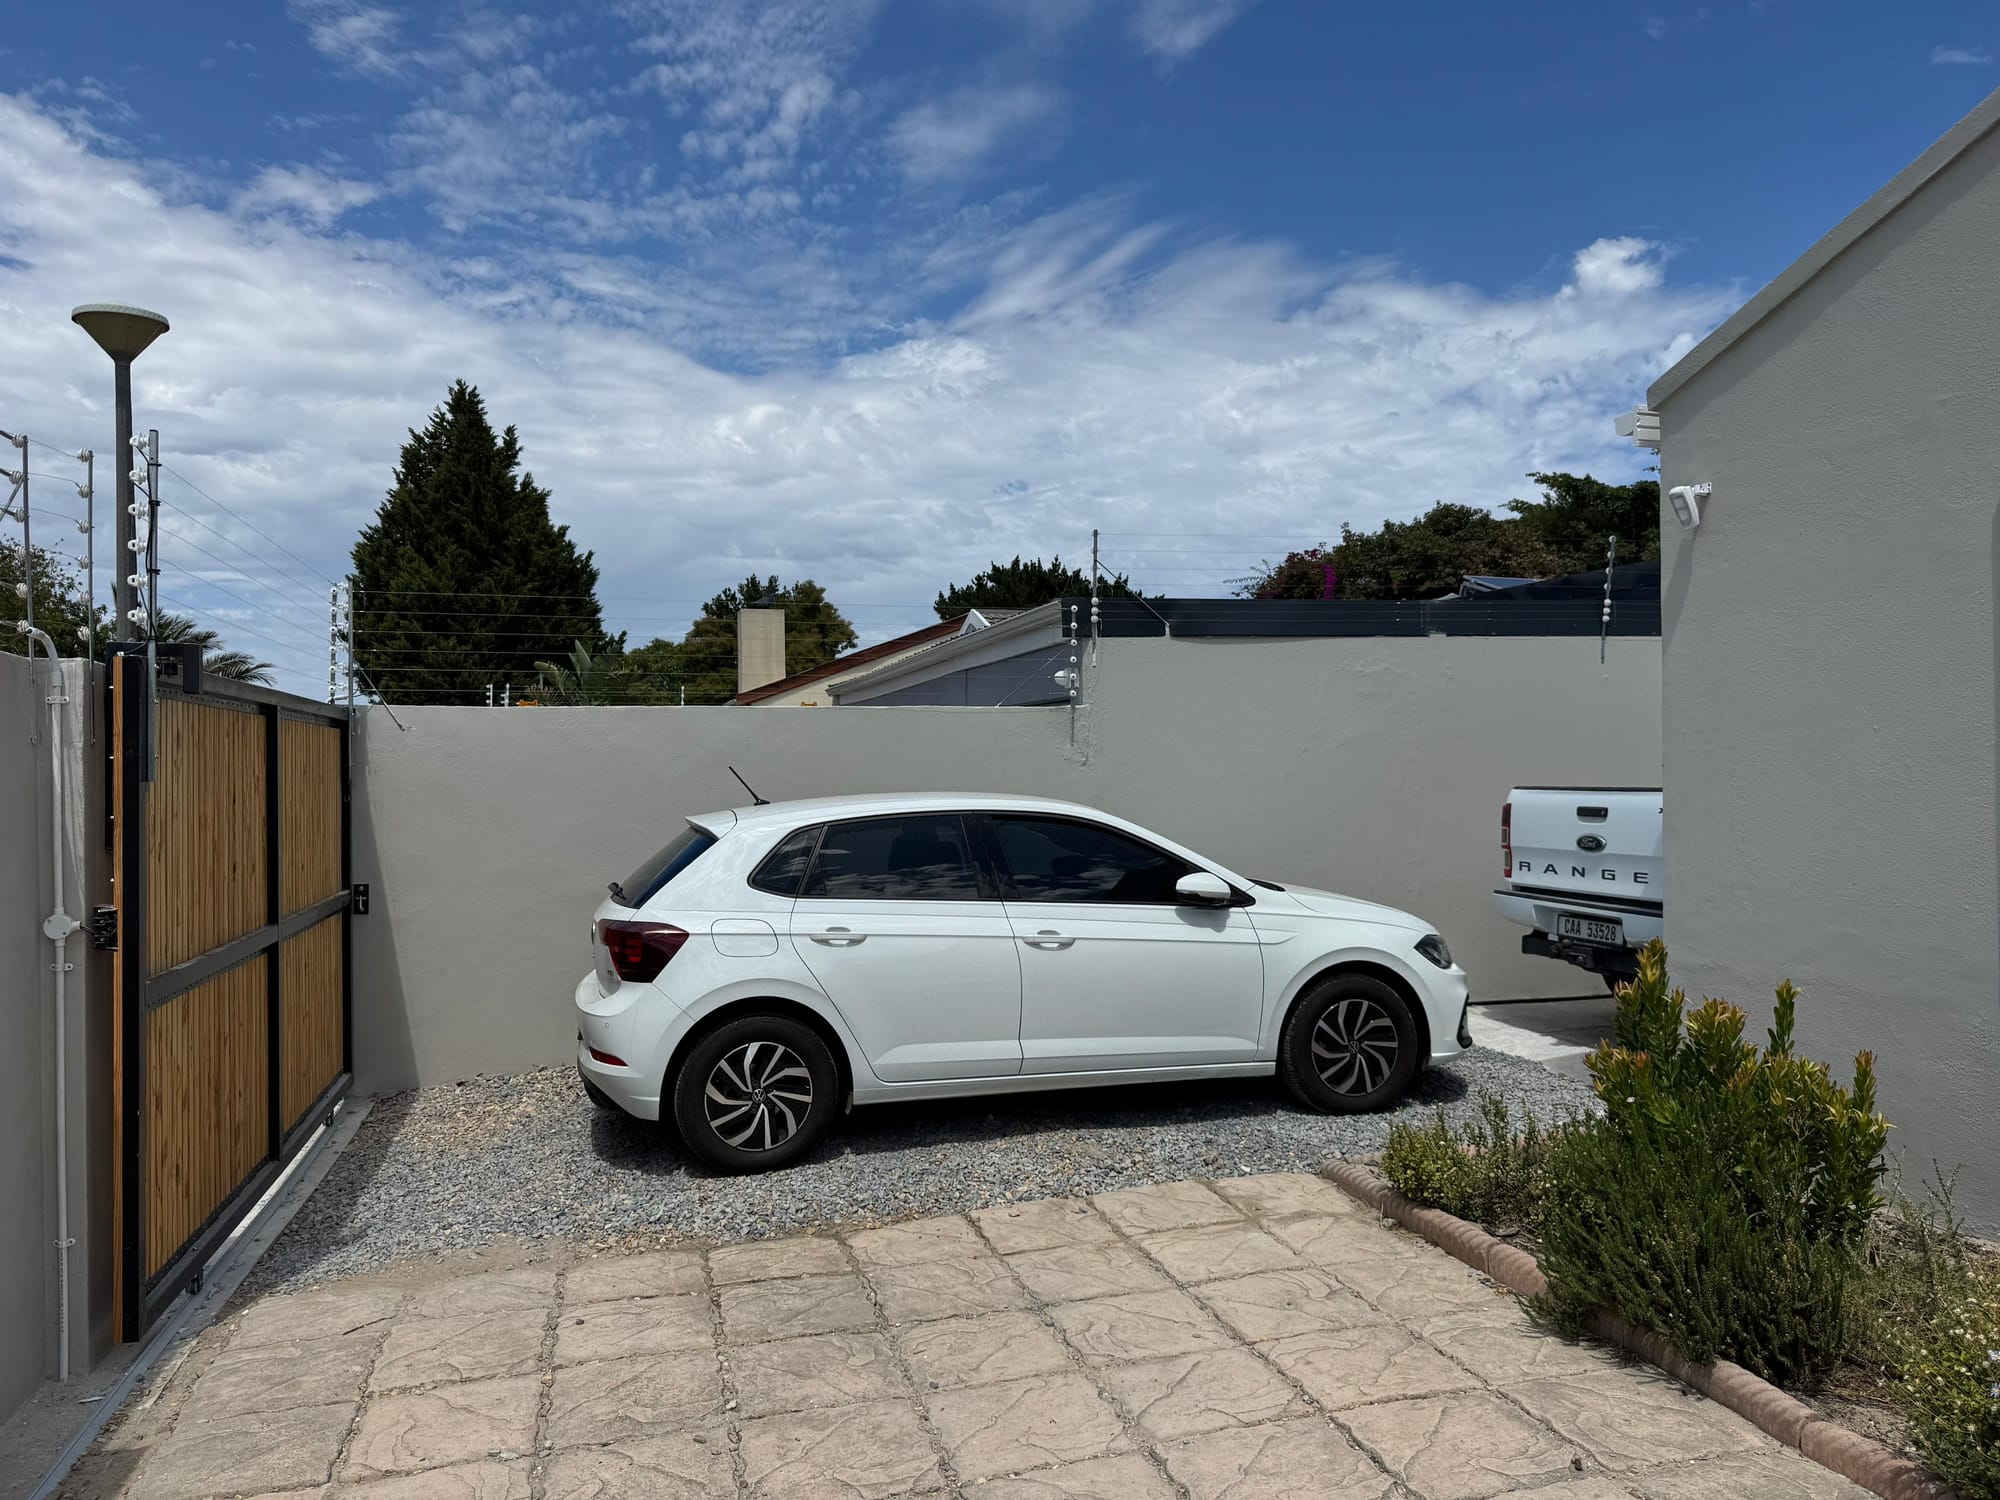
Recently I found myself in this situation again, like many times before. Our home did not have an access point where you can drive in with a vehicle to load/unload. I saw a perfect spot to add a sliding gate and thought to myself, surely I can weld a gate myself, break down the wall and install it myself.
Long story short, but it was a much bigger undertaking than I ever imagined.
Throughout this process, there were times where I had to spend a few hours doing something - which gave me a lot of time to think about metaphors and life lessons that can be derived from the task I'm doing. Here goes:
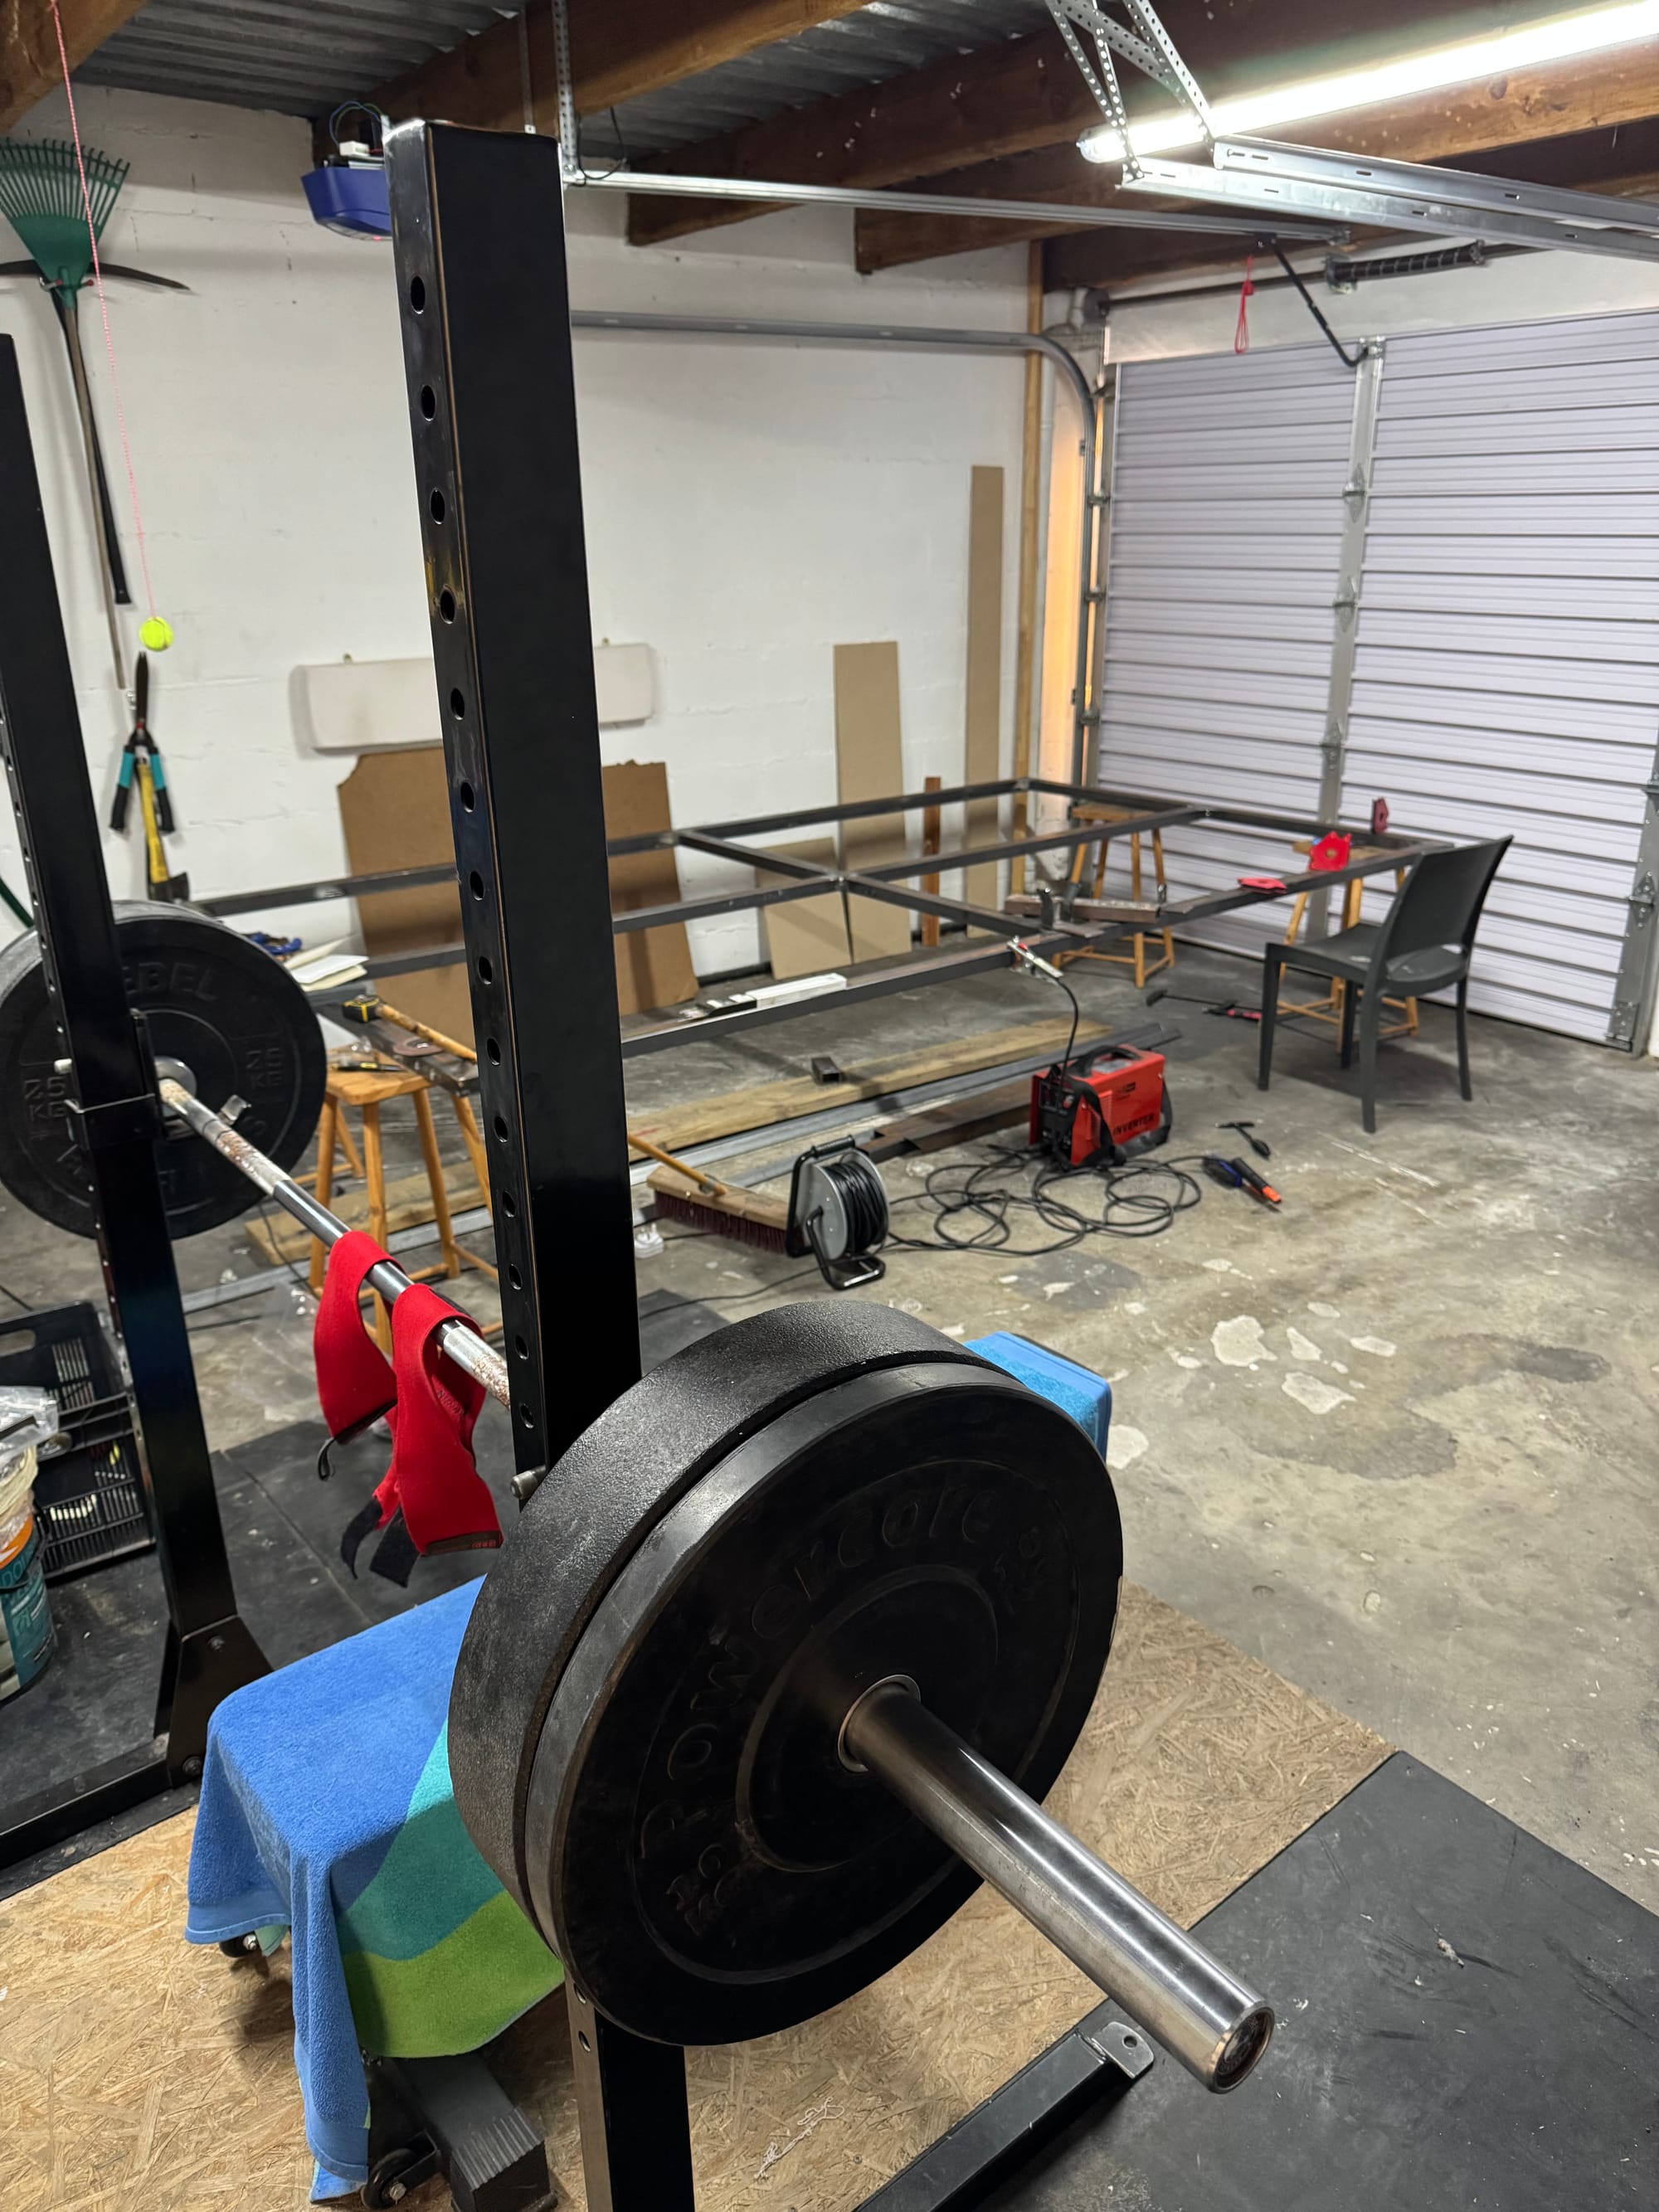
When prepping the corners of a frame for welding - take your time - make sure it's perfect.
Most of the time, preparation gets you 90% of the way there. Spending an extra minute on prep will save you 10-20 minutes down the line. Slow is smooth and smooth is fast. Because I did not prep my corners properly, I burnt holes in the steel while welding, which often took a very long time to fix.
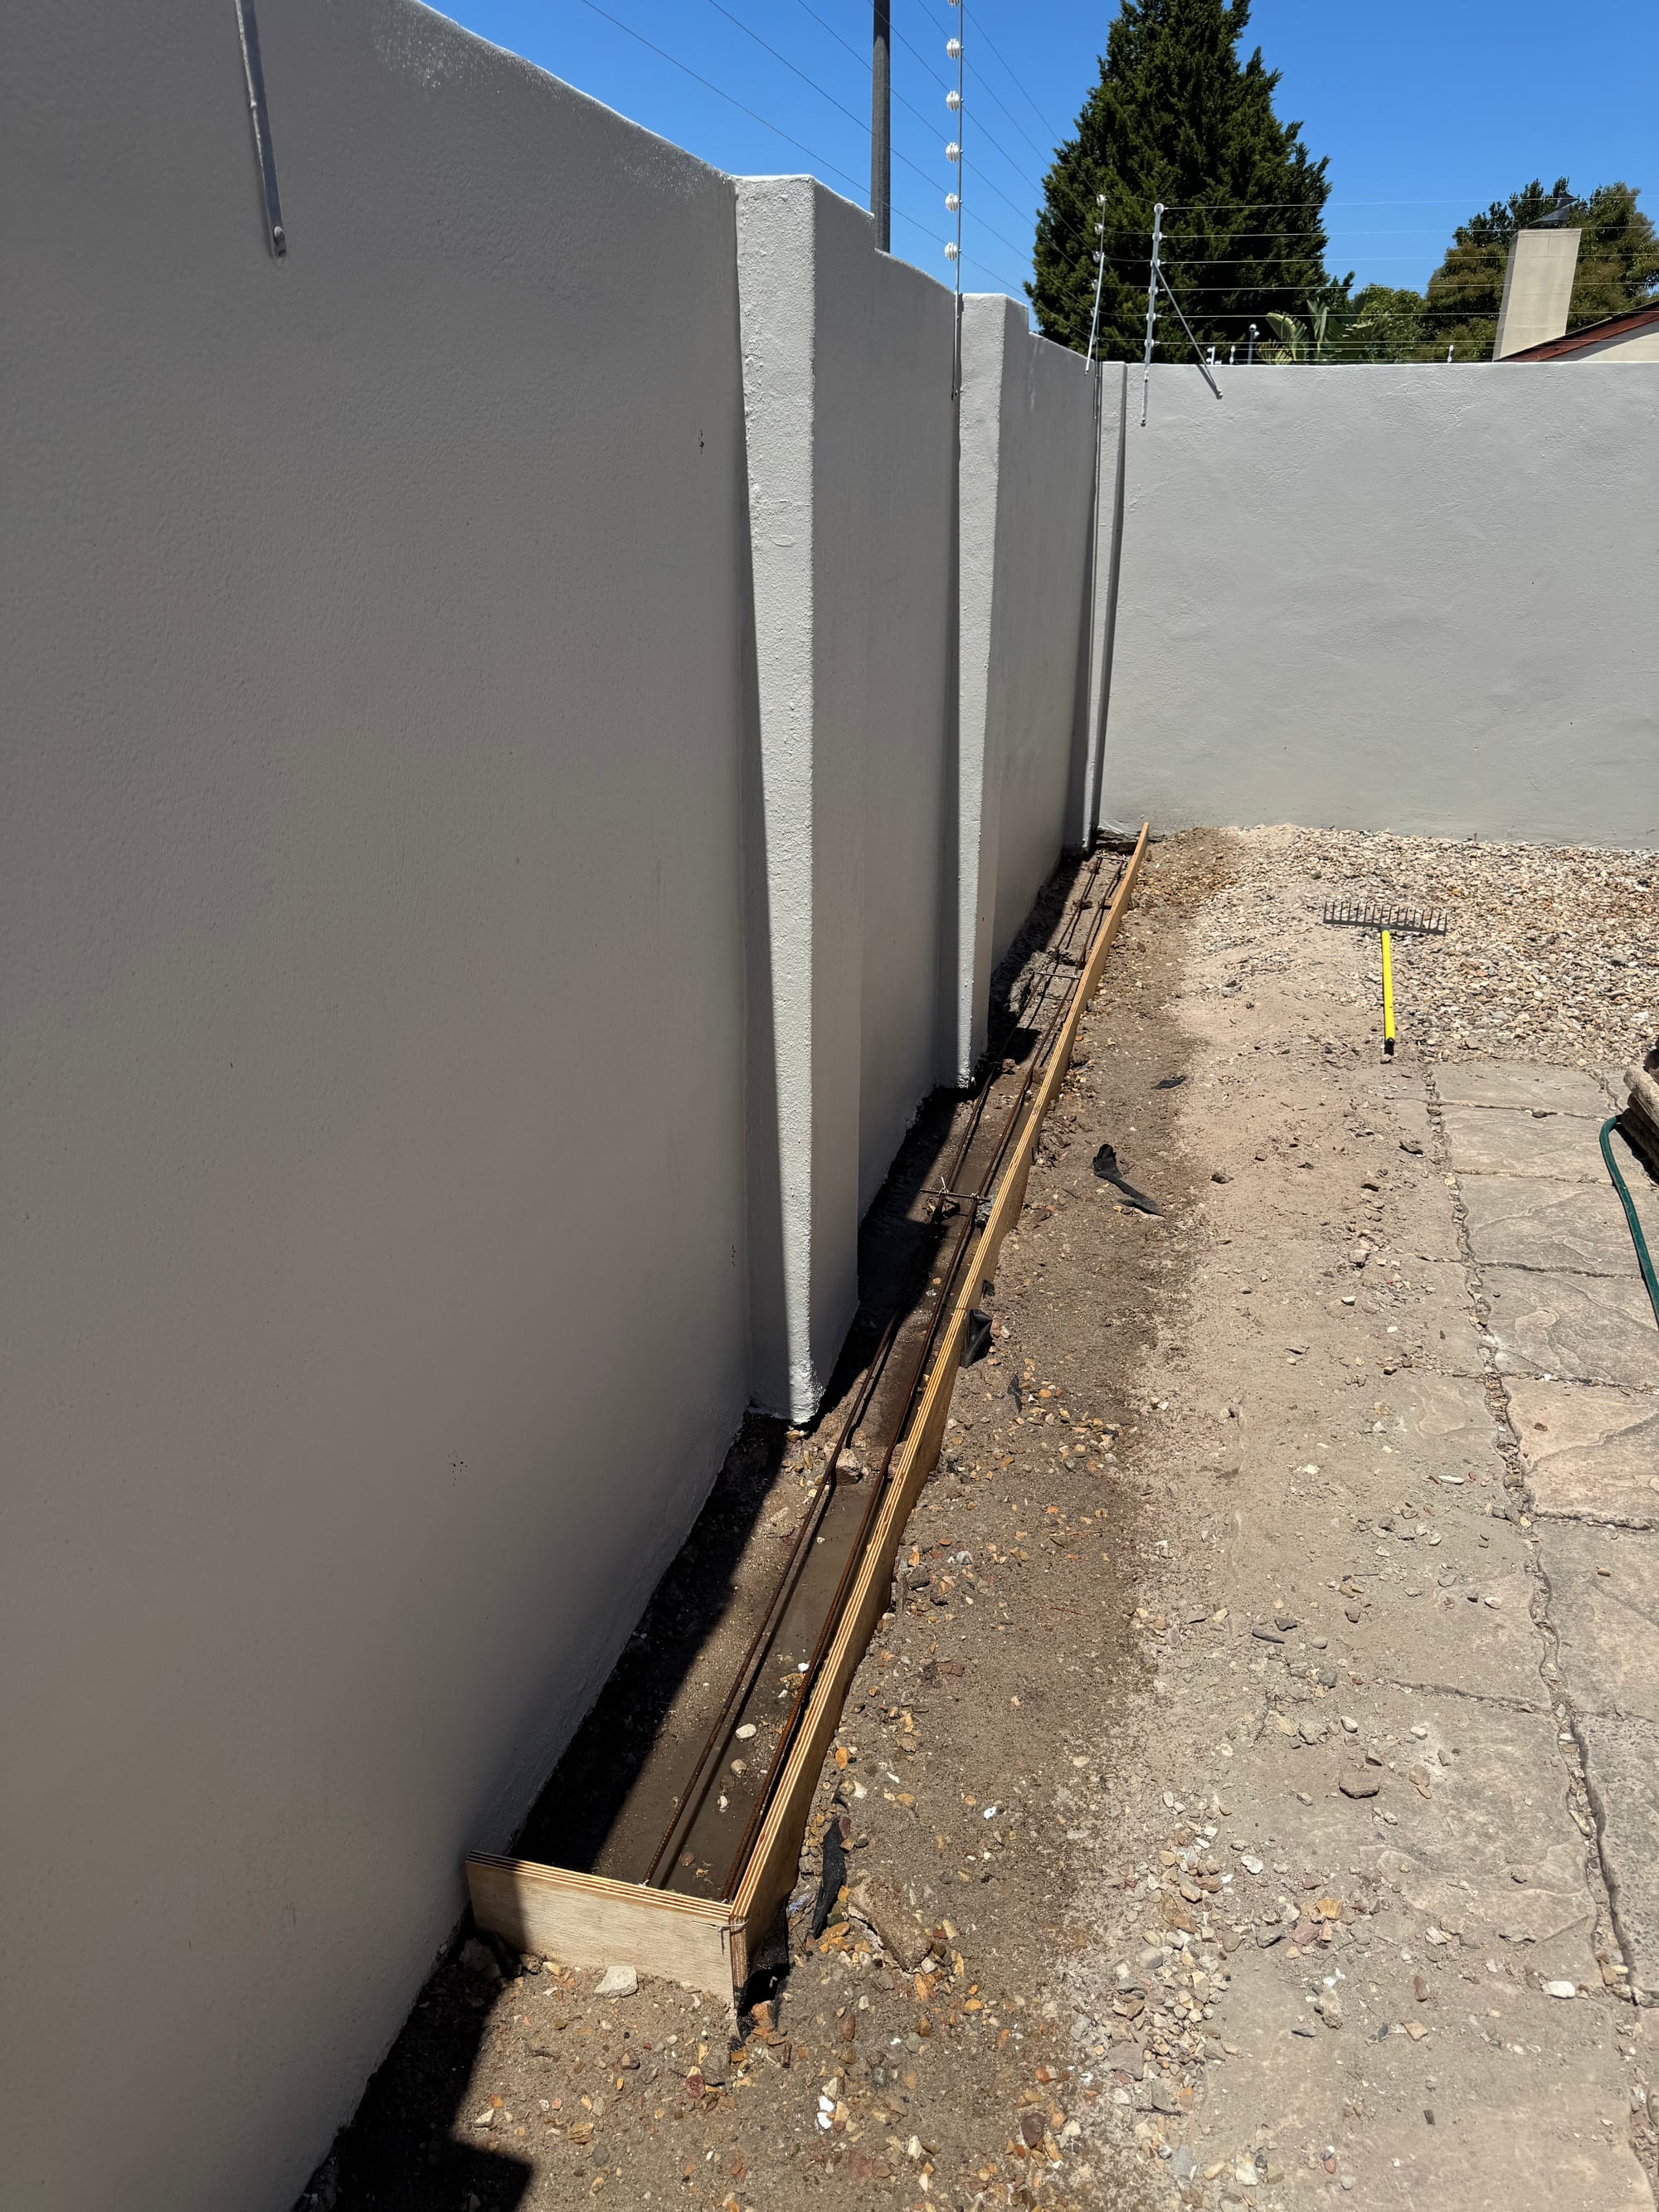
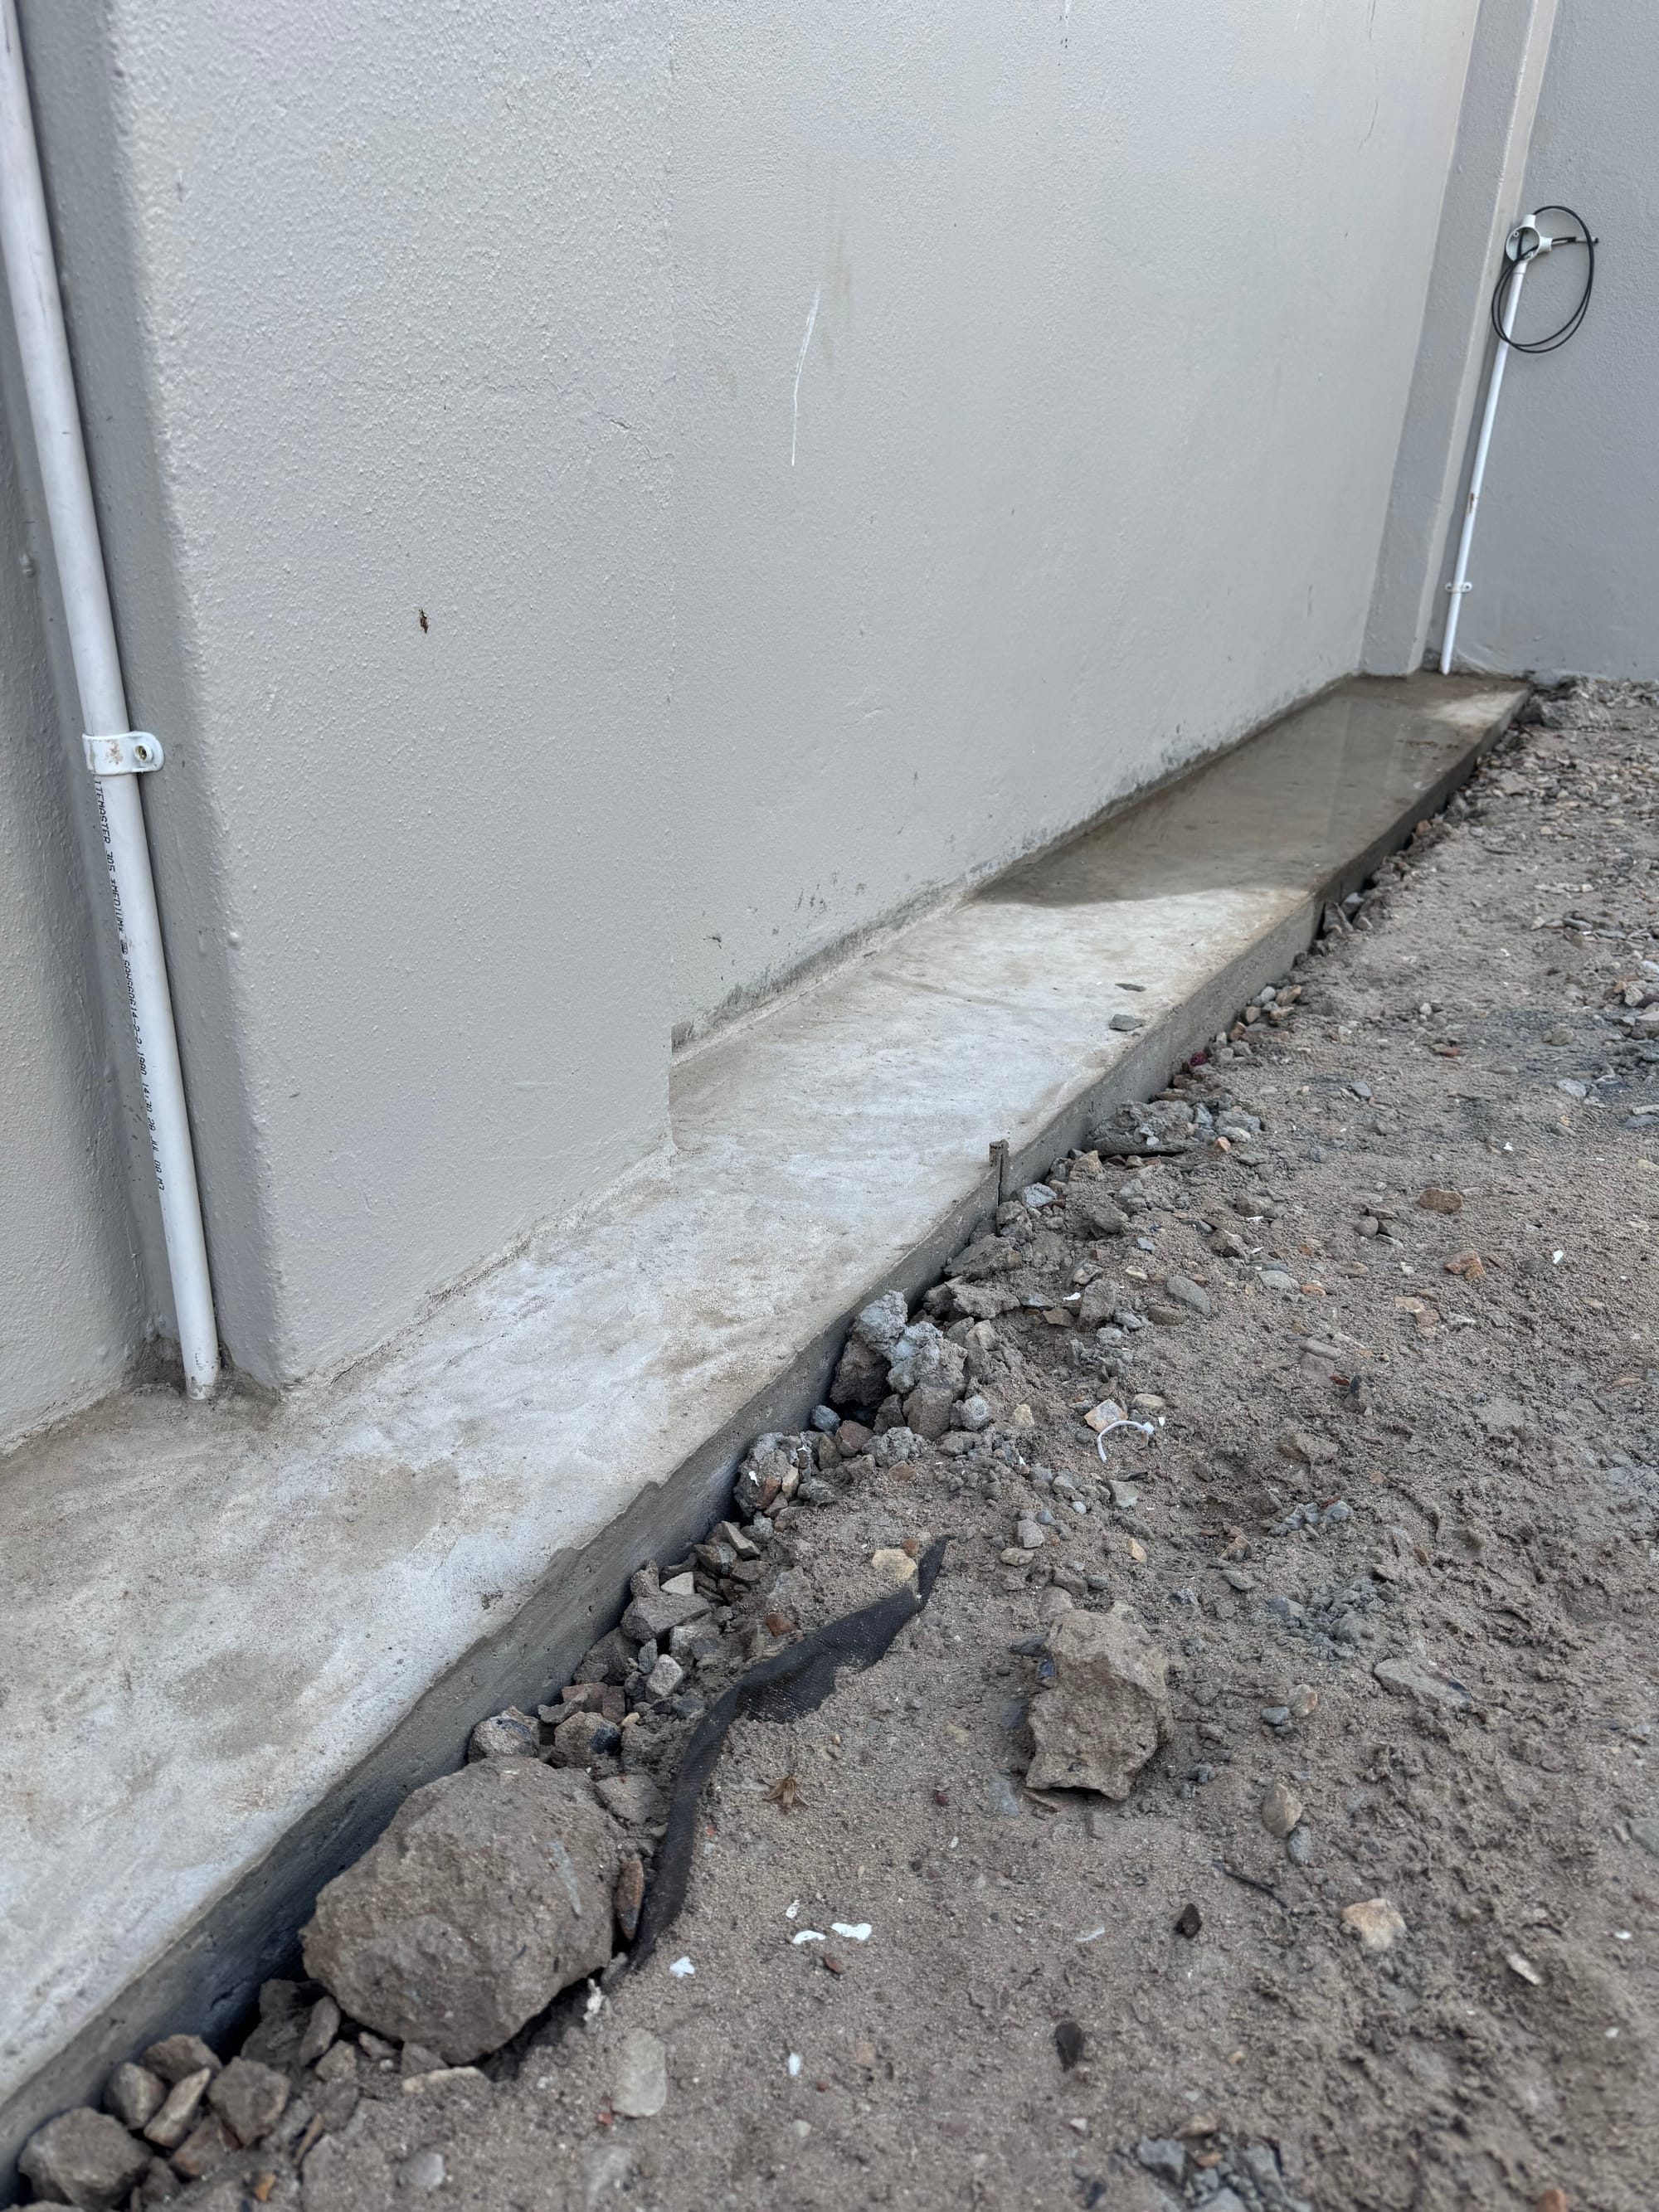
Use a string level when pouring concrete and make sure it's 100% perfect before it sets.
Some things are more permanent than others. And once it has been done, it's very difficult to reverse. I did not do this, and now the track my gate runs on resembles a roller coaster. This is going to be very difficult to fix. It works, but it bothers me.
Don’t drill small holes in steel before galvanising.
These holes will be closed by the galvanising and you will have to re-drill them again. The lesson here is that the order of doing things matter. Plan and do your research on how steps influence each other.
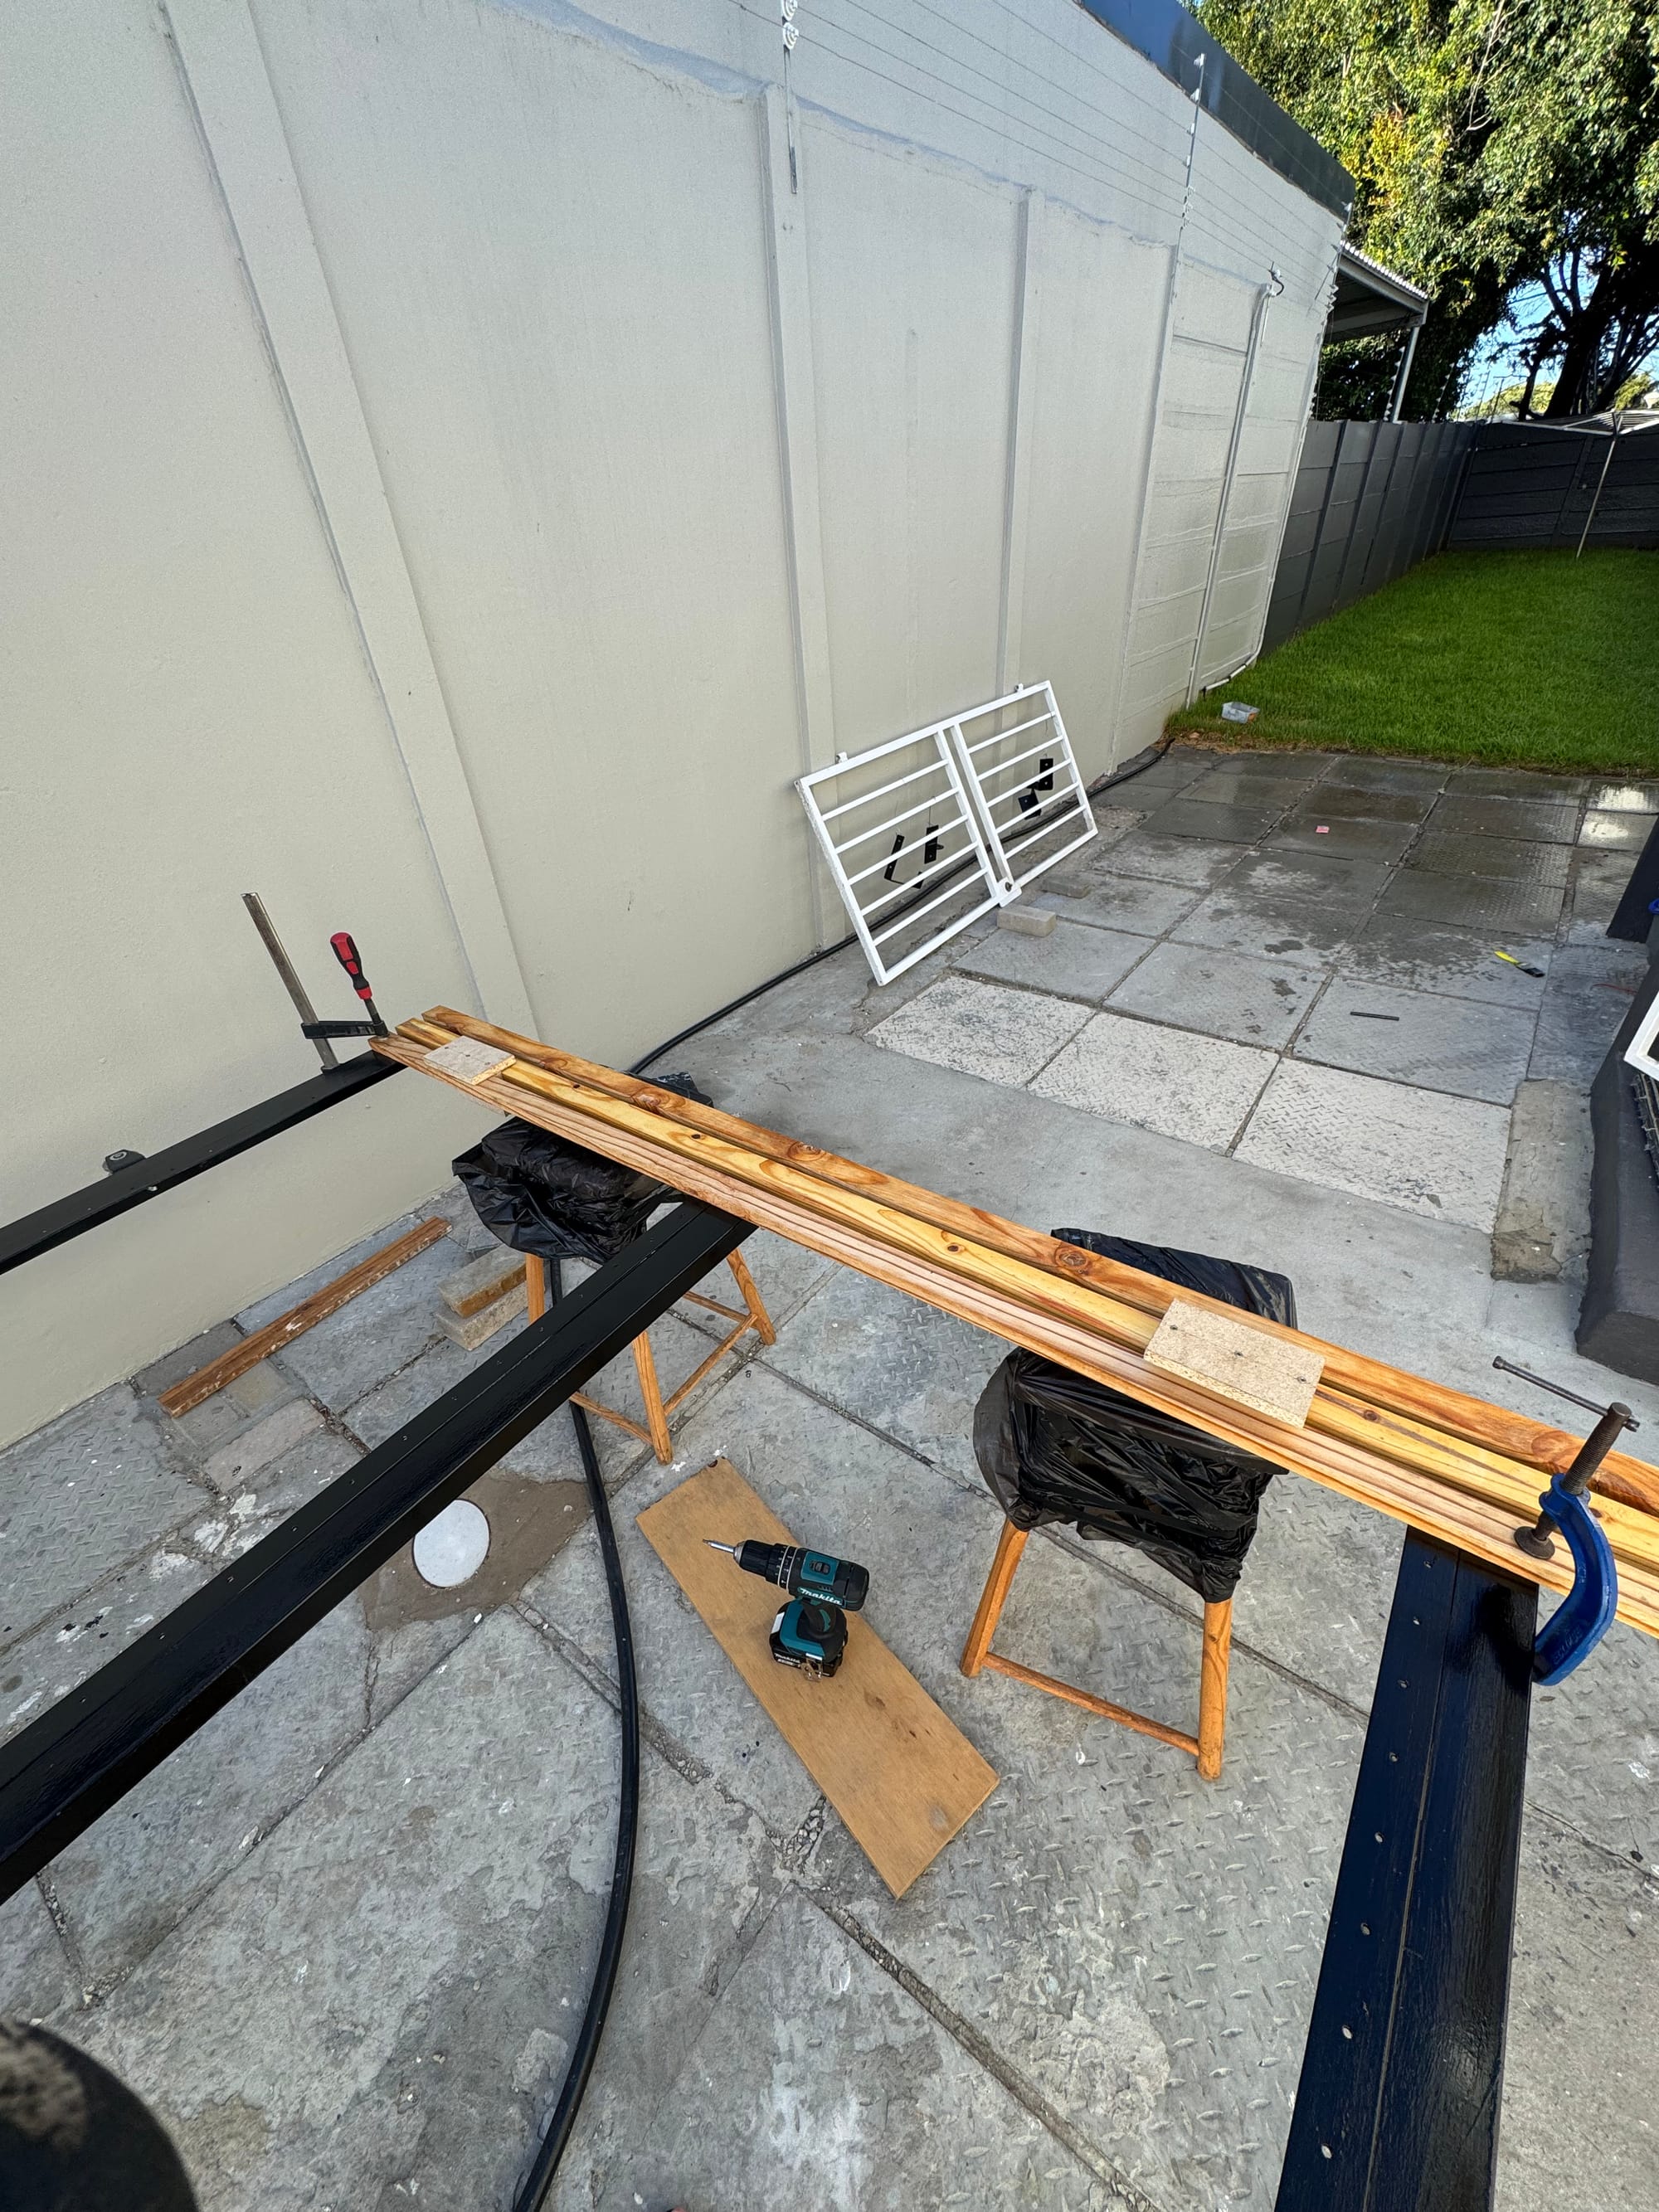
If you plan on spacing wood equally on a steel frame, don't drill the holes before you start mounting them.
The maths might make sense on paper, but in real life, no 2 pieces of wood are exactly 40mm wide and if you are working with 57 pieces of wood, a millimeter discrepancy on each is 57mm which can throw out your calculations. Wait until mounting them, and drill as you go.
Buy the best tools you can afford.
It's tempting to buy cheap tools, but don't do this. Rather save a bit longer and buy the best tool you can afford. I had a cheap drill at the beginning of this project and it caused so much issues because it did not have great speed control - and for drilling steel you need to be able to drill slowly. I bought myself a proper drill and this made it so much better.
Buy the expensive drills bits.
When purchasing drill bits, a 5mm steel drill bits, you get ones that cost R40 and others that cost R250. Purchase the latter - you will only need the one, it won't break and it will stay sharp. You will need to purchase multiples cheap bits and all will break after a few holes. Trust me, I know, I drilled 56 x 3 holes (and re-drilled them multiple times because of galvanising and my spacing being out).
You can work much harder than you think.
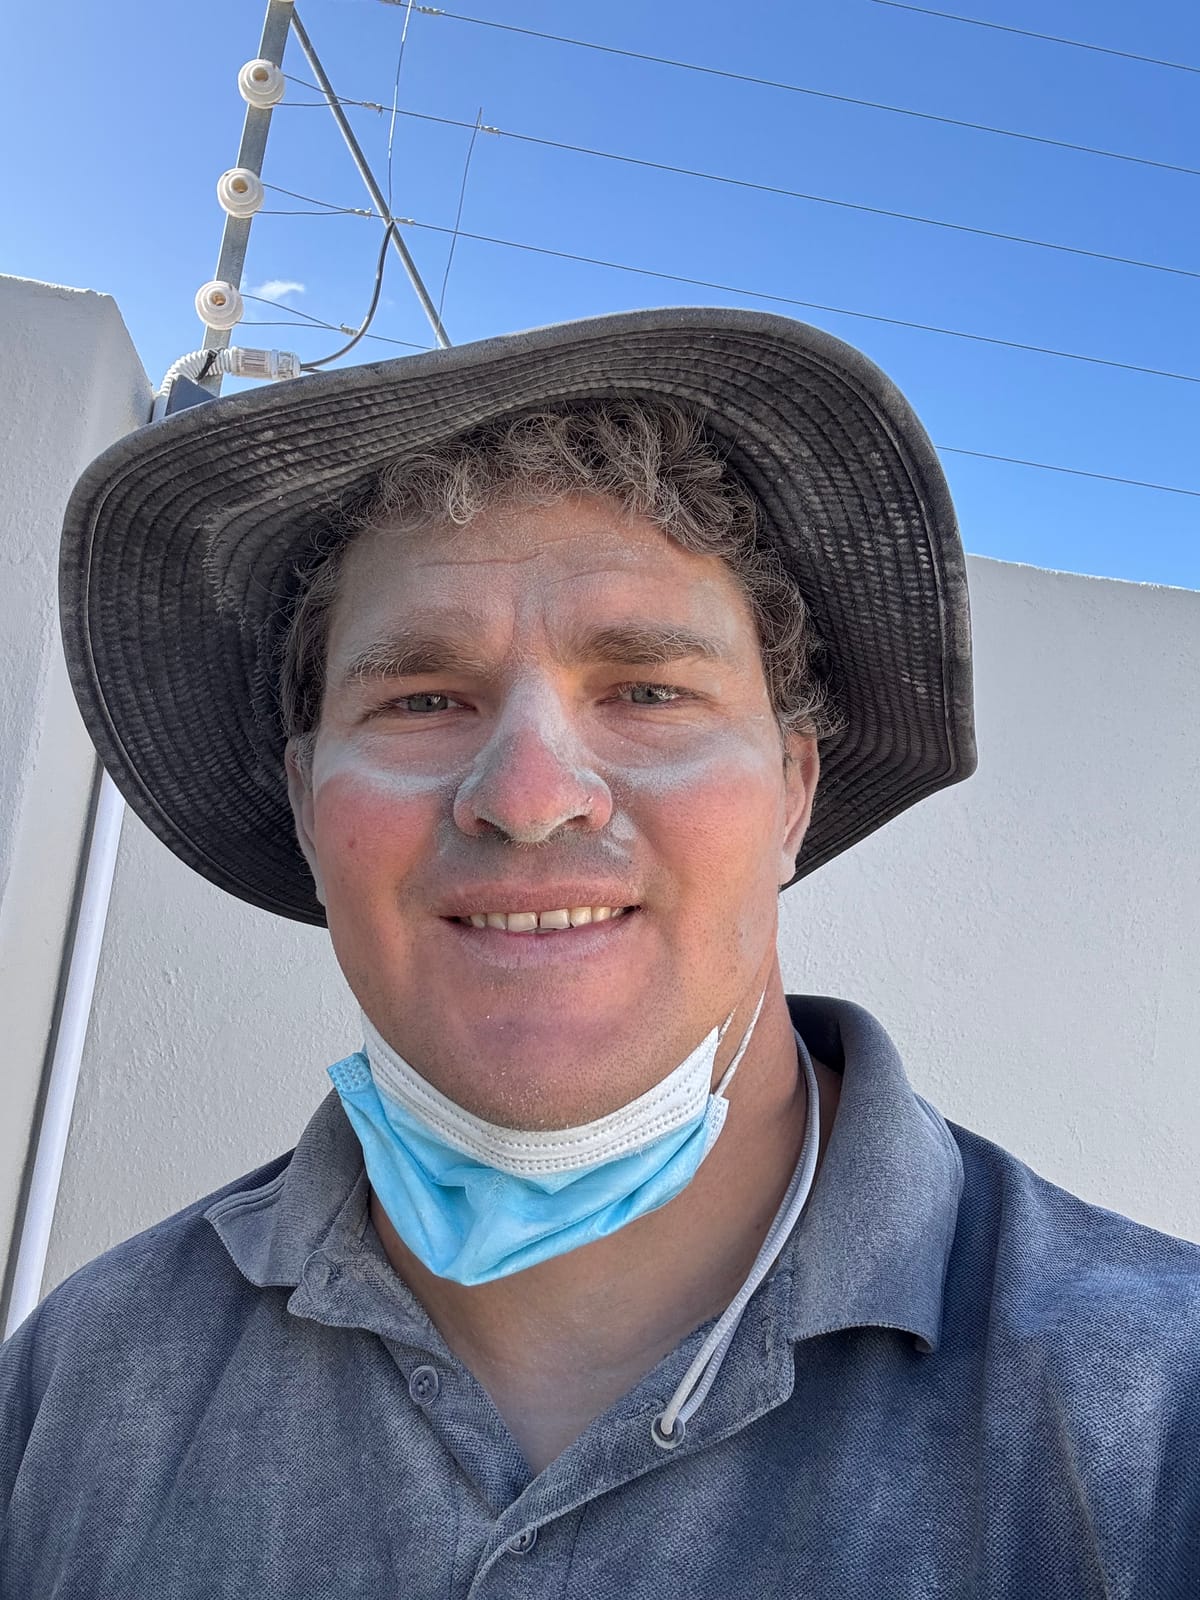
It's easy to underestimate yourself, but trust me, you can work much harder than you think. It took me a month to build my sliding gate, and I did it while working my job and training regularly. Often I worked for 3-4 hours in 35-degree heat, sweating profusely—and I did not die—it just made me stronger.
Plastering is hard.
Plastering was probably the most difficult part of doing this project. Give builders the respect they deserve - they are extremely skilled and probably not paid enough. Also do some research, apparently you can add plasticiser into the plaster which makes it stick better and should make the job much easier.
There is nothing you cannot learn - you can just do things.
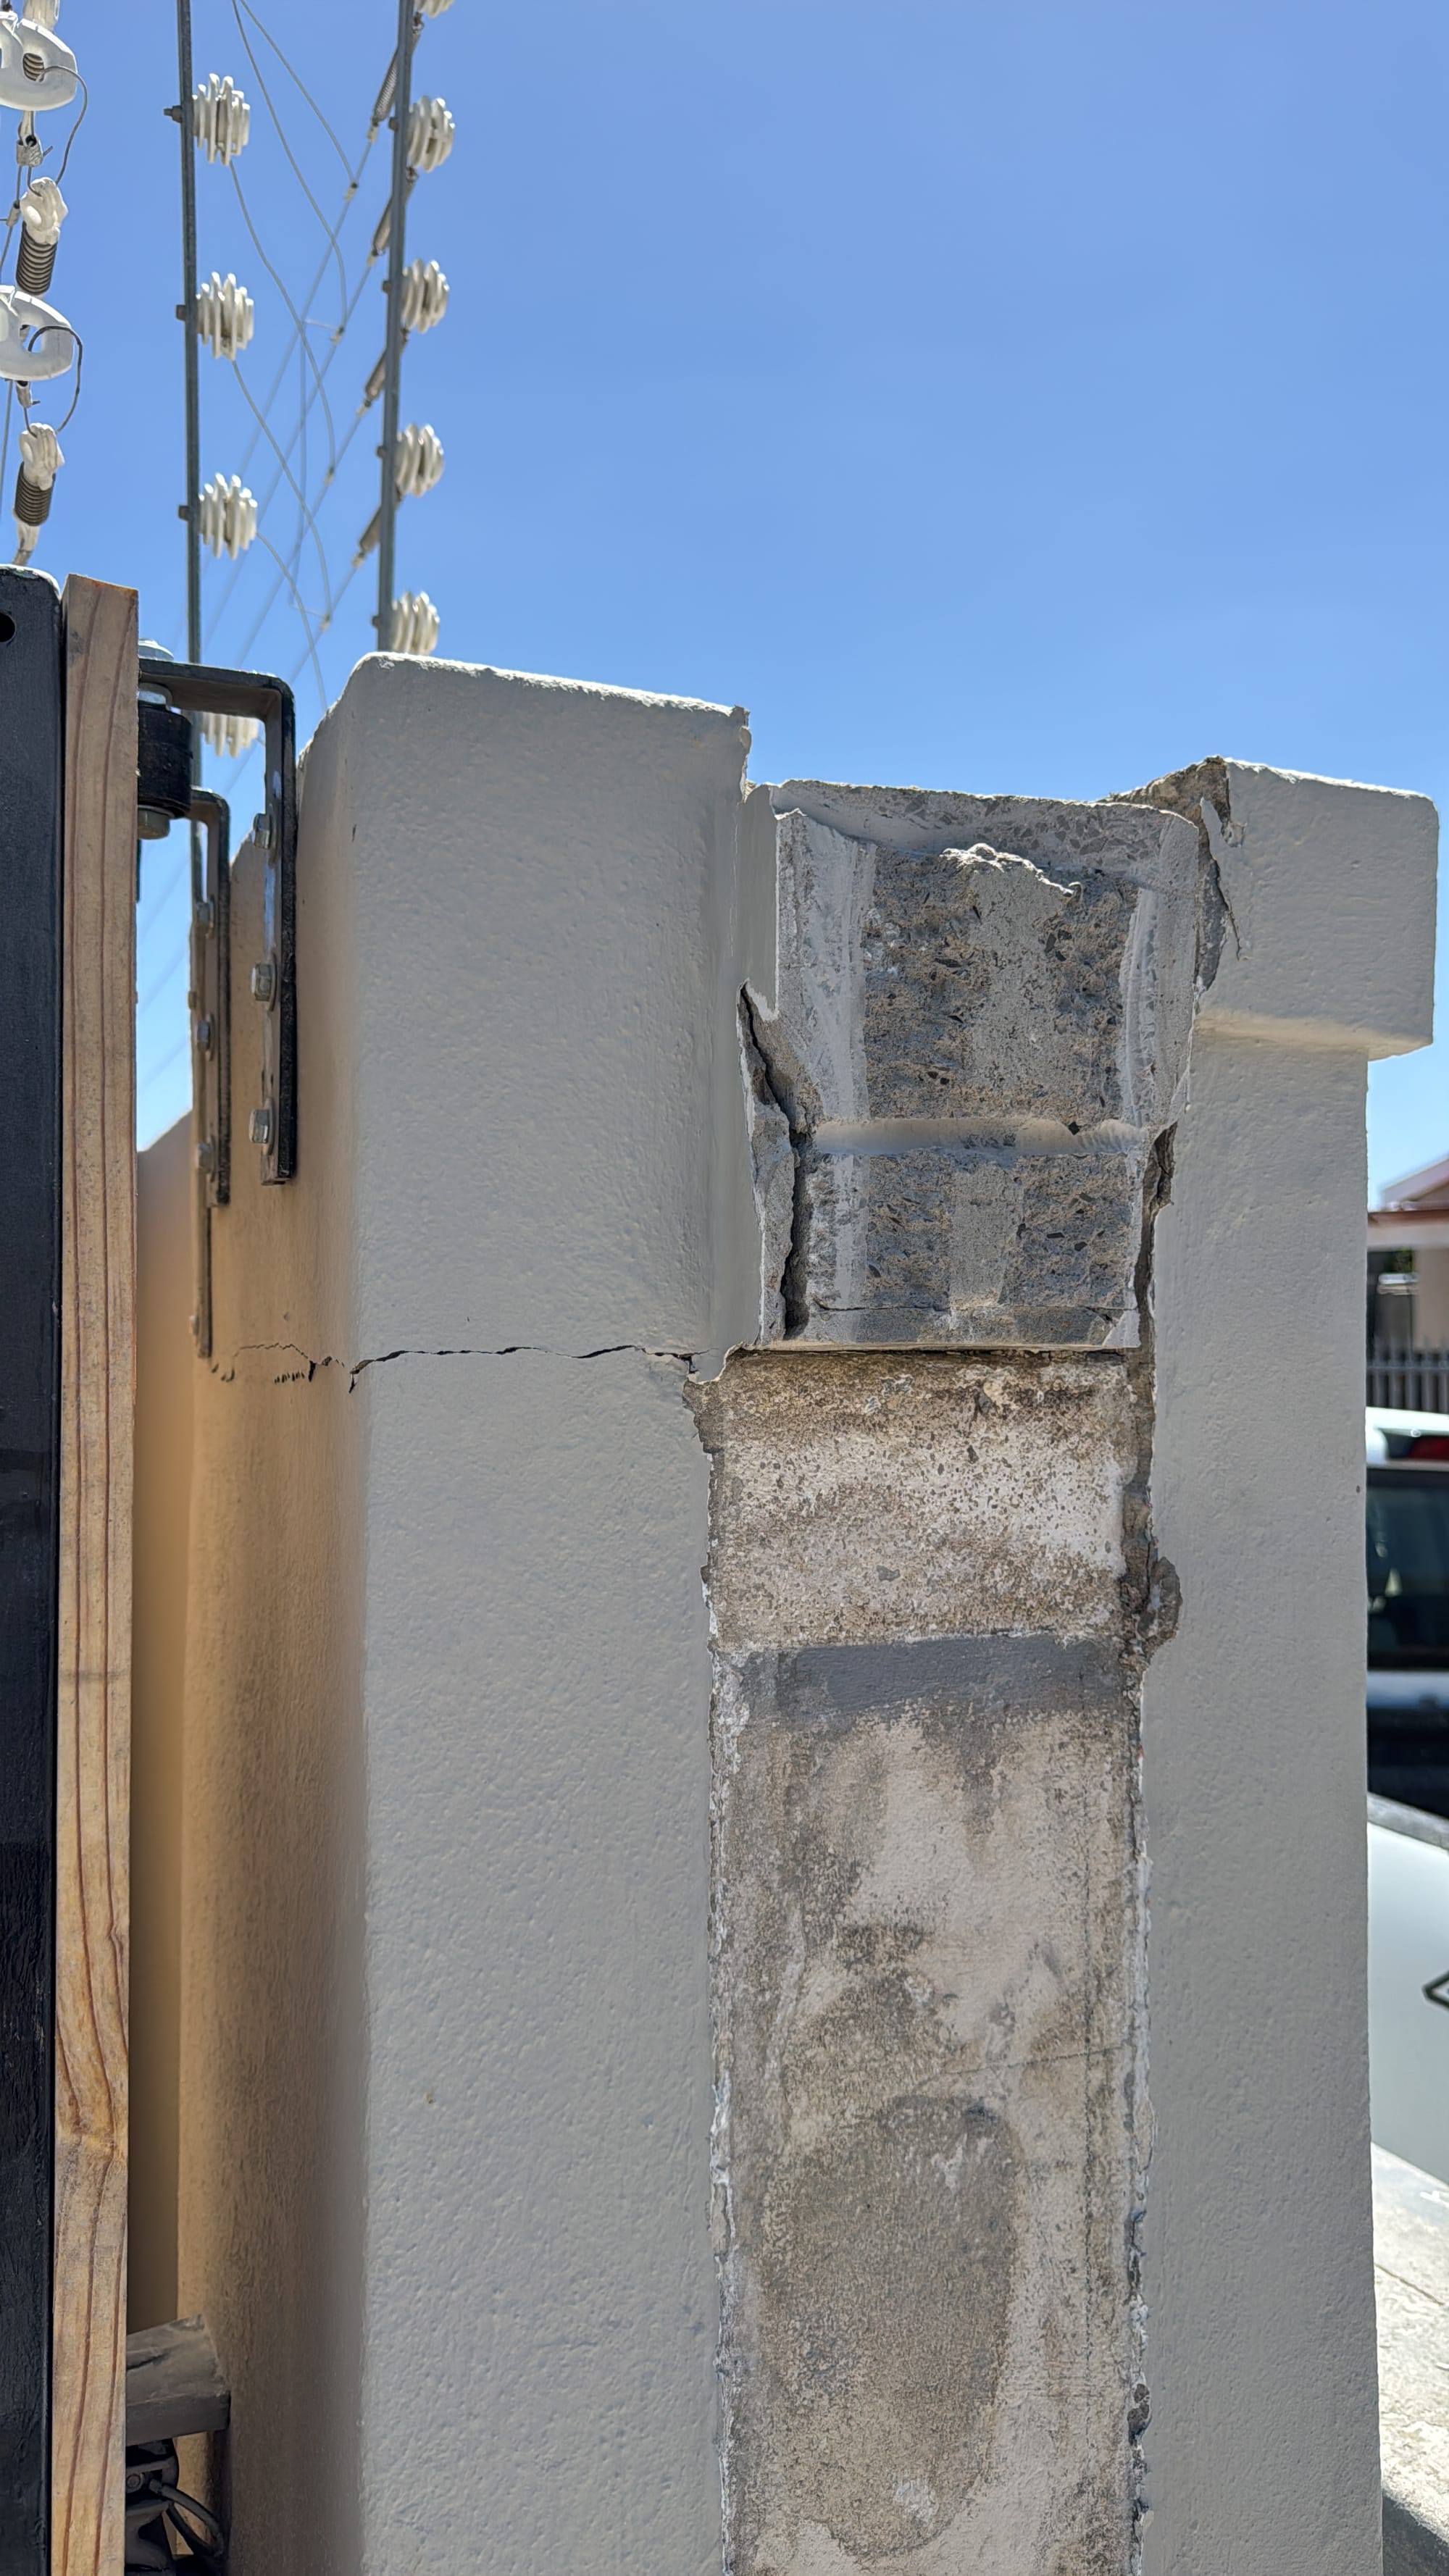
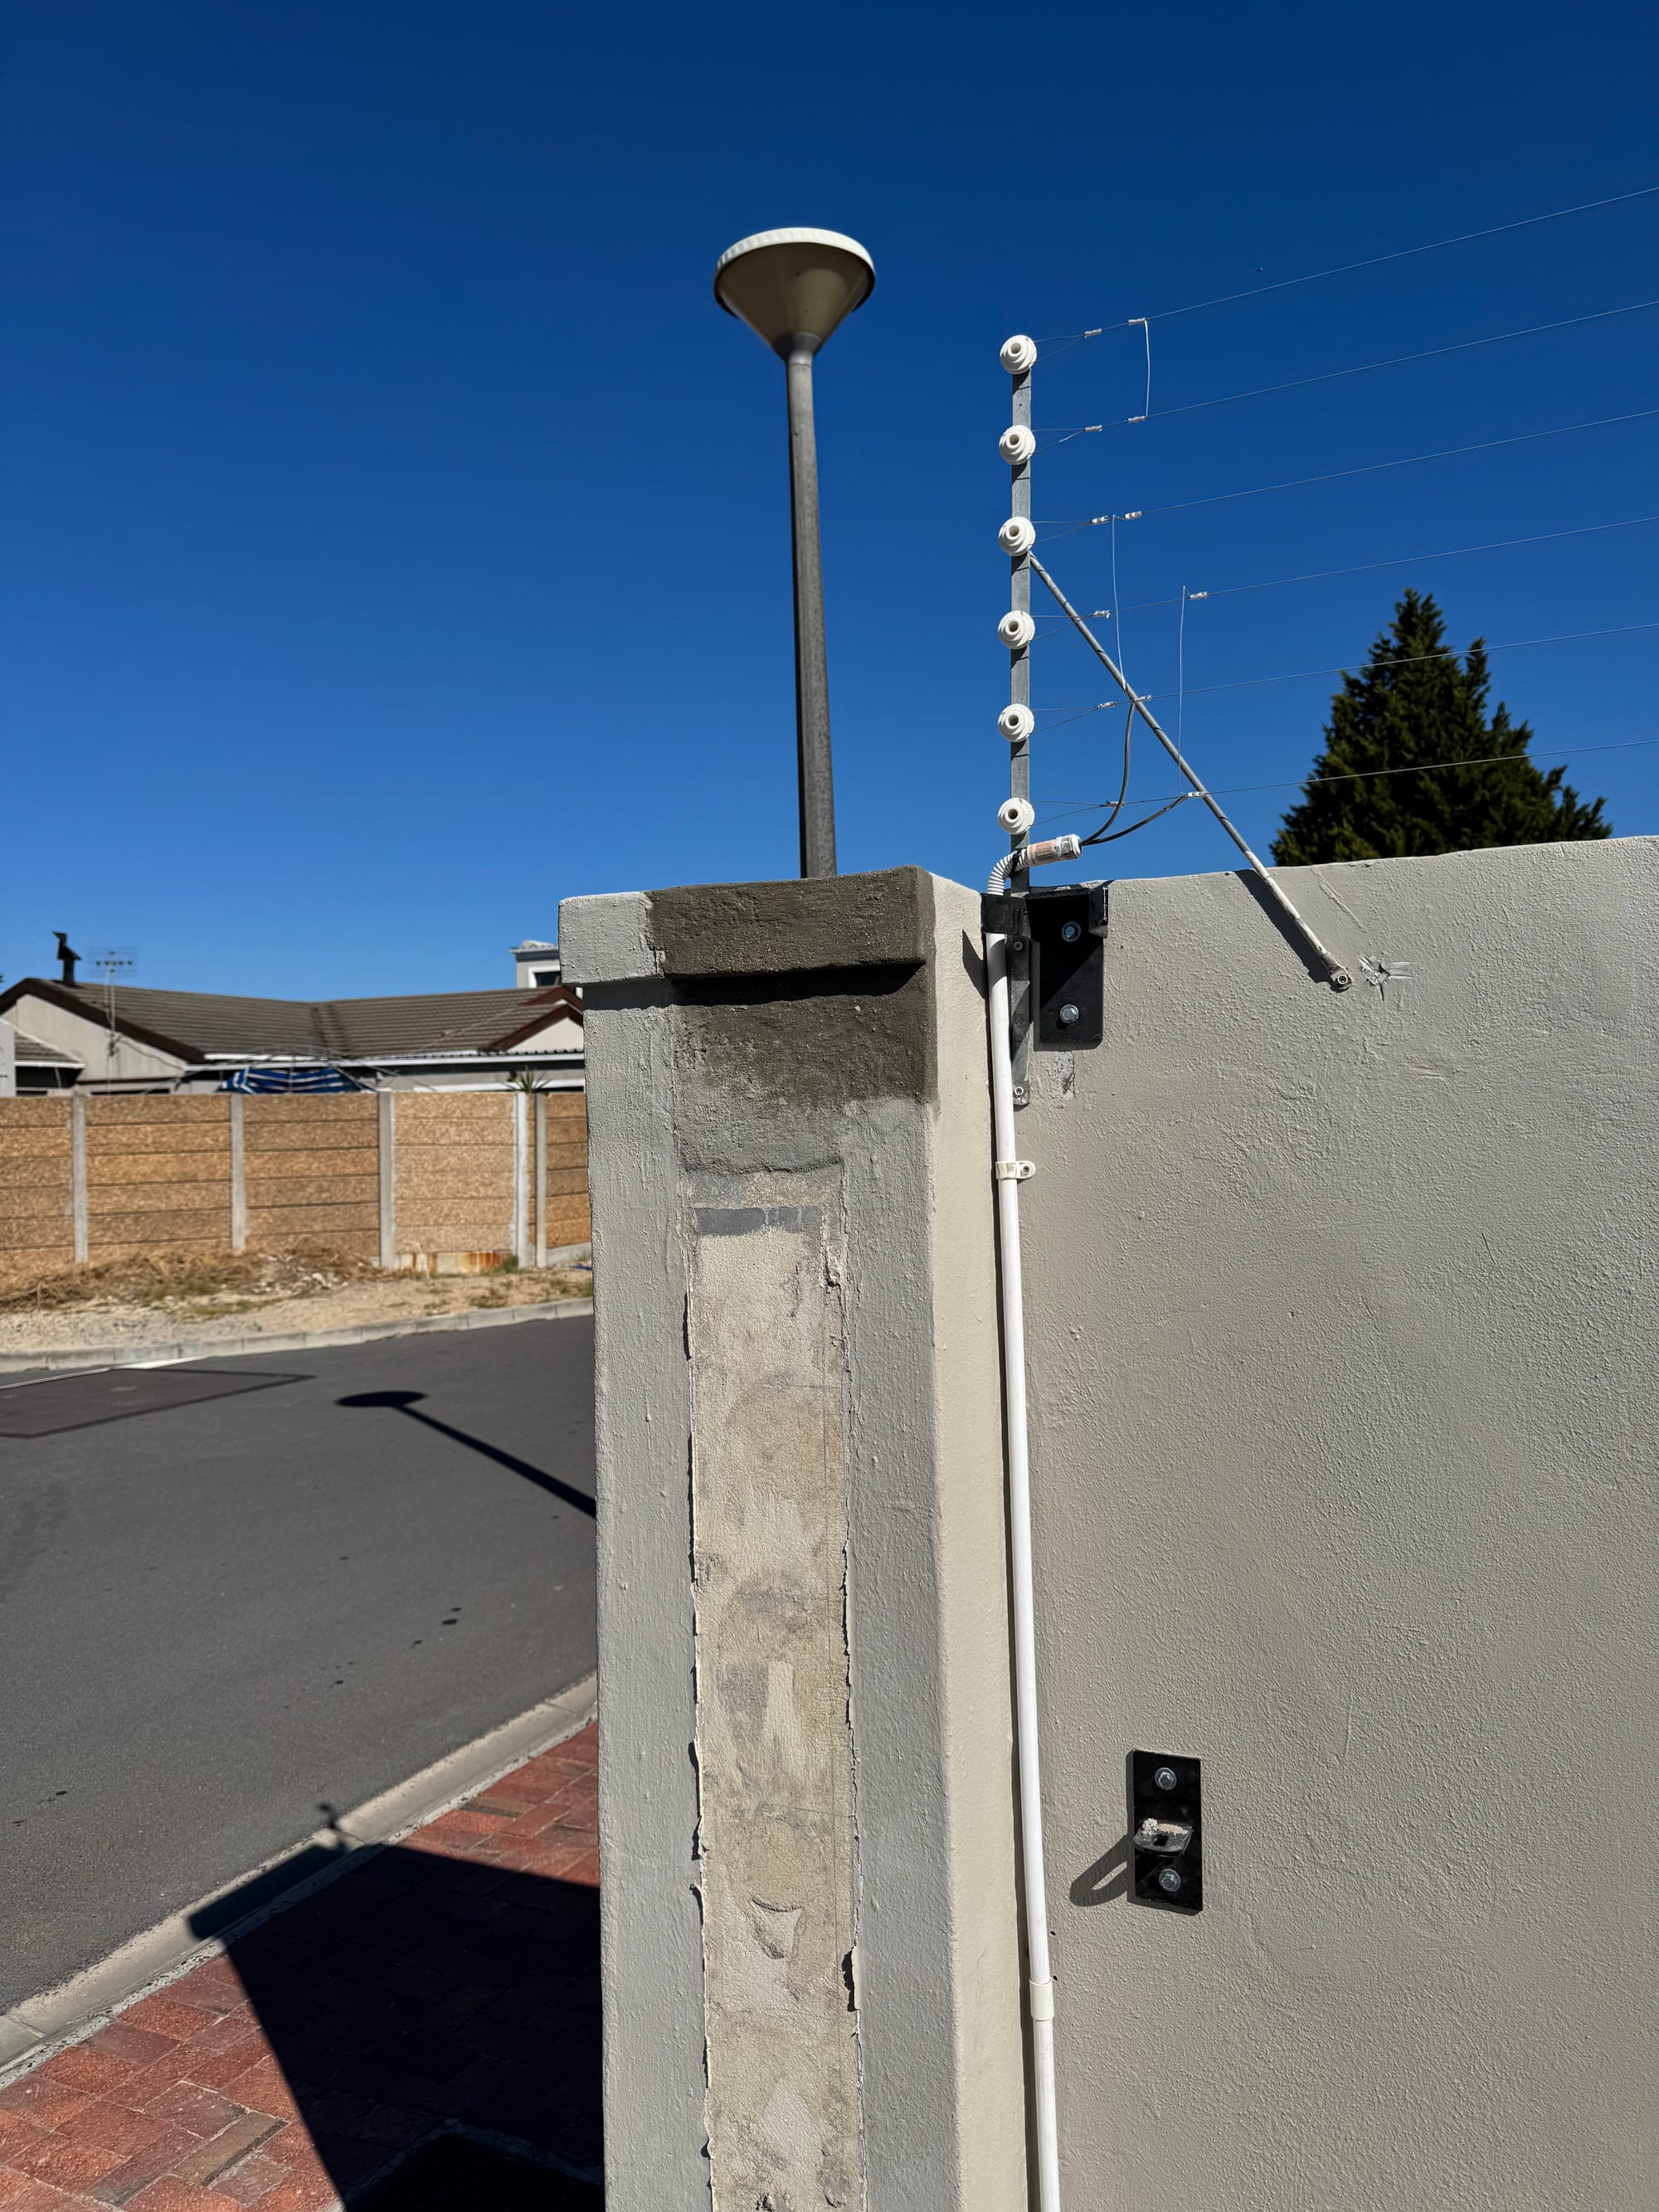
Of all the things I want you to learn, this is probably the most important. You can do anything, if you set your mind on it. Find the resources you need, do the research, ask for help and you can achieve anything. During this project, I welded a gate from scratch, cladded it with wood, broken down a wall, poured concrete, fixed a broken pillar and plastered it, painted and re-wired the electrical fencing over the gate. None of this I knew how to do beforehand; I taught myself and you can too. Hopefully it will be a bit easier if you've read this.😉
I know I did not really give precise instructions on how to do it, because when you do it, everything will be different, but hopefully these lessons I learnt, will save you some money and time. Here are some more pictures of the project: